The Truth about Carbon Props
Two Left Sides?
Evey once in awhile, we get a call, text or email from a customer that got "Two Left Sides" (or two right sides) in their shipment from us.
"After all, aren't the two peices that fit together opposite from each other?"
"Both of the ones I received are the exactly the same, that is not right."
"Don't BOTH of the leading edges face the same direction?"
"They only fit together one way, right?"
We usually reply with a profuse apology and remarks like:
- "Oh no, did we do that again?"
- "How could we have missed this?"
- "There must be two right sides (or left sides) somewhere in our warehouse!"
- "Let me talk to our shipping department and see if we can get this sorted out."
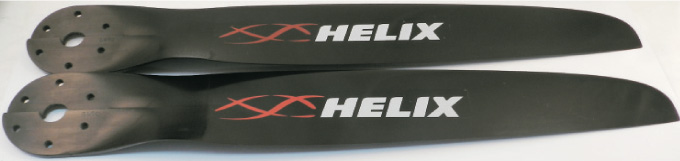
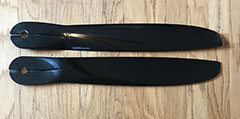
We then ask the client to do us a favor and put one blade on top of the other and ask if they are identical (they always are).
We than ask them if they fit when they slide them together (they always do - although they can sometimes be tight which is normal).
The Truth
The truth is that the two pieces of your new (2-blade) prepeller are EXACTLY the same! Whether it is a two-blade, three-blade or four-blade, each piece is exactly the same as the other(s). How can this be?
Two-Blade Carbon Fiber Propellers can be assembled two different ways - correctly and incorrectly. They will slide together just as easily either way. The problem will become obvious later if it's not right!
The Mistakes
There are two mistakes that can be made when mounting your new propeller:
- Assembly - As described above, the propeller can be assembled two different ways. The prop will slide together either way, and you want to make sure you do it correctly.
- Attaching to the Paramotor - This can also be done two different ways. These beautiful propellers are only made to produce thrust going in ONE direction!
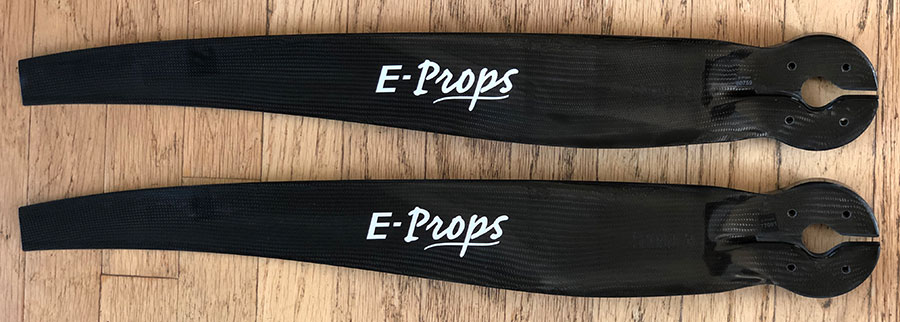
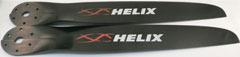
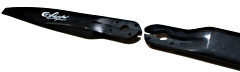
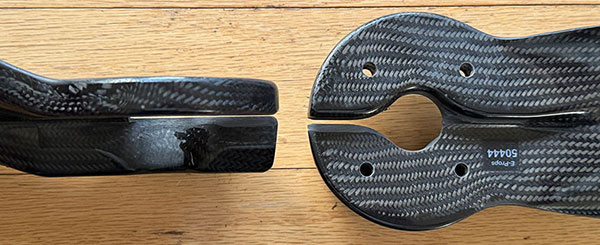
Each propeller blade has one leading edge and one trailing edge where the cooling fins are. The leading edge is thicker where the prop meets the air, wheras the trailing edge is sharp edged and is where the cooling fins are more angled away from the engine, helping air to move away from the hot engine.
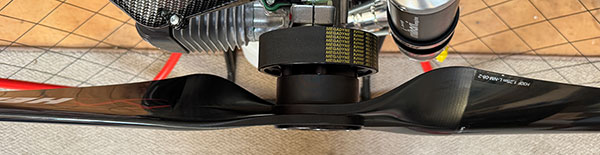
When assembling your propeller, if you slide your propeller together incorrectly with the leading edges facing the same direction, the result will usually be that the prop is clearly out of balance if attached to your motor and started. You will notice an excessive amount of vibration immediately.

Enlarge Photo
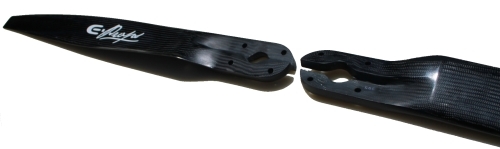
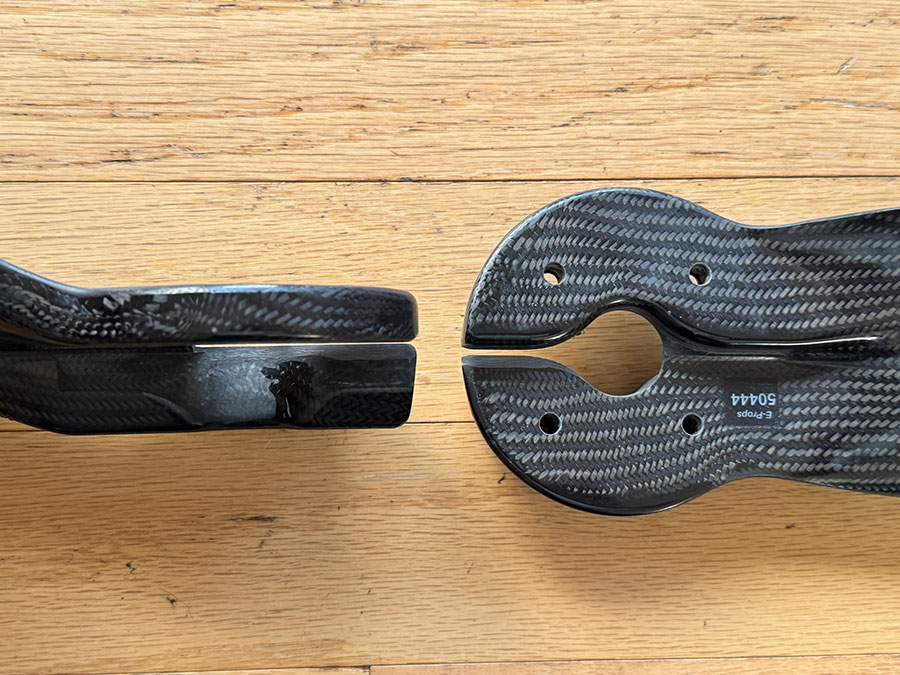
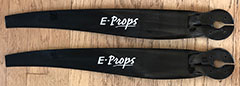
E-Props has eliminated this possibility with their innovative solution - different thicknesses in the section that fits together. They will only be able to be bolted onto the hub if they are put together one way, the right way! This is only true on their latest versions, the older versions are still the same thickness, and can be assembled incorrectly.
Enlarge Photo
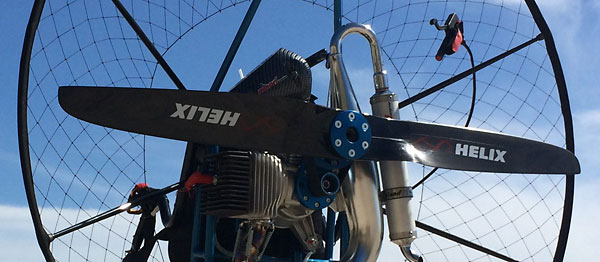
Even if you have assembled the propeller correctly, you can still make the mistake of attaching it to the paramotor wrong. If you do this, the result will usually be a lack of thrust and potentially out of balance as well. This also could allow your engine to achieve an RPM that is not optimal and could be potentially damaging to your engine.
Enlarge Photo
Many paramotors have tight tolerances and will not allow the prop to spin with the prop attached backwards, as the cooling fins will hit the redrive pulley or gearbox - but not always. Plus, many pilots use a propeller spacer to move the prop further back from the cage and engine to allow for better airflow. This would then allow either mistake - the incorrectly assembled or attached propeller to spin easily without touching the pulley or gearbox.
View larger photos of these situations HERE.
The Solution
When you assemble your carbon fiber prop, Put one blade on top of the other and line them up to verify that they are EXACTLY the same. Then, lay both pieces flat on a smooth, flat surface next to each other facing the same direction. Now, take one of them and slide it away from the other and turn it around to the position where it can be inserted into the other where they attach. Slide the two pieces together until the center hole matches.
The propeller now should have the cooling fins facing away from the table and the leading edges facing down. The Leading Edges of the prop will face TOWARDS your paramotor. Usually, the propeller will have a label with the brand name on one side - this usually faces AWAY from the engine.
Lift up your prop and determine which side of the propeller goes toward the engine and which side faces to the rear, where the thrust should go. Make sure the Cooling Fins face AWAY from your engine.
Because your propeller spins on an axis, each blade of your prop is an airfoil that produces thrust best in only one direction. It is also exactly the opposite of the other blade and they are perfectly balanced in order to achieve this. The propeller MUST be assembled correctly to work properly.
PLEASE BE AWARE: If your propeller is assembled or attached incorrectly to your paramotor, there is potential for great damage to occcur. If you start your engine, you must be ABSOLUTELY SURE that the prop is right.
If there is resulting damage to the prop, cage, tank, glider or body parts from deither of these mistakes, you will have no recourse. There will be no warranty, no replacement, no one to blame but yourself. Once your engine is started with the new propeller, it is solely your responsibility that it has been installed correctly.
Both Helix and E-Props are premium producers of carbon fiber propellers. They make excellent products and balance each and every pair of 2-blade propellers sent out. The same goes for 3 and 4-blade props, but there are more ways to assemble these improperly.
The best thing to do if there is any question about the installation is to as for a second opinion, preferably from an instructor. Simply getting another set of eyes on the propeller once it is installed will usually catch any mistakes.
If you start the engine and there is any vibration, kill the engine immediately and fix the problem. Do not go fly, thinking the problem will get better (it will not).
Enjoy the Skies!
|