Miniplane-USA |
|
|
|
Miniplane Assembly Steps:
|
Assembly: Spark Plug (Ignition Parts)The Miniplane Spark Plug must ALWAYS be installed with the 2mm aluminum Spark Plug Washer to ensure proper spacing for compression rate and spark placement. First, gap the Spark Plug at 0.020 (0.5mm), then slide the Spark Plug Washer onto the Spark Plug. Remove the protective foam insert from the top of the machine where the Plug will go and screw the Spark Plug into place by hand. Tighten the Plug using a Spark Plug wrench or socket where you have good purchase on the tool. Use red threadlock on the small top terminal threads (on the top of the Spark Plug) or the terminal WILL loosen and damage the spark plug boot! Attach the Spark Plug Wire that comes from the Ignition Coil to the top of the Spark Plug and make sure it is securely seated. Replace your Spark Plug often! WARNING: Never pull the starter cord without grounding the Spark Plug! You can check for a spark with the Spark Plug out of the machine, but make sure it is grounded against the cylinder or other ground source. Pulling the Starter Handle without the Spark Plug installed and the Plug Wire securely connected will permanantly damage your Ignition Coil! The repair for this is not so easy, even though the part is readily available and easy to see.
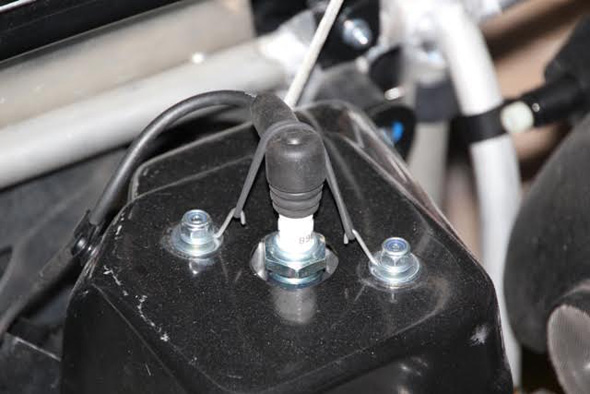
Some units have a hook and rubber O-ring keeper for the Spark Plug, see below:
The next step in the assembly is the Cage.
|